How CoolerTags makes printing shelf tags easy
Here’s a step-by-step guide to how our TagCaddy system simplifies the process of making shelf tags. Once you sign up for an account, you’re ready to start making tags.
Step 1:
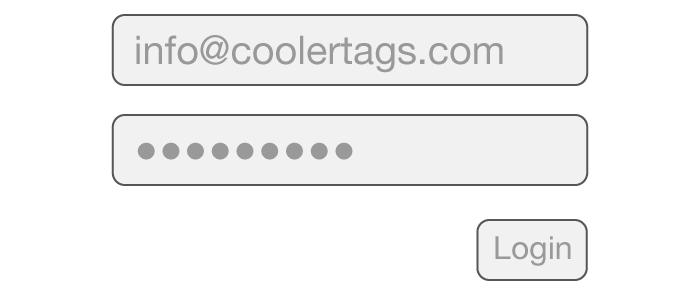
Login to TagCaddy on your desktop, laptop, tablet or phone. The system is optimized to work on any device.
Step 2:

Click “New” to start a new project.
Step 3:
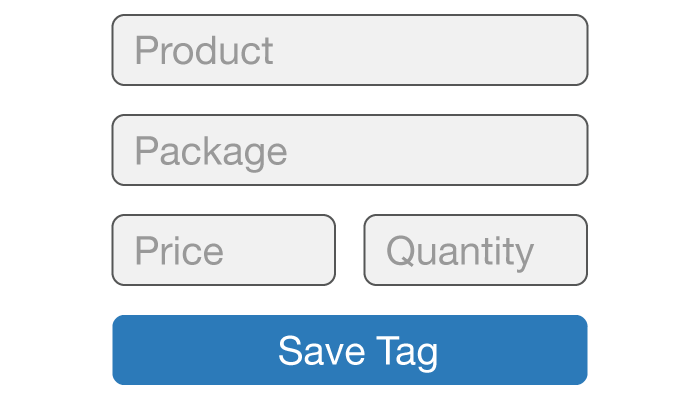
Start typing the product name and TagCaddy will give you a list of matching products and approved logos to select from. This process guarantees there will be no spelling errors.
Add package details like “6 Pack Bottles” and price, then select the number of tags you want to print. Click “Save Tag” at any time to save your tag into the TagCaddy system.
Step 4:

Click “Generate PDF” and TagCaddy will create your label designs instantly—there’s no waiting and you can’t go wrong.
Step 5:
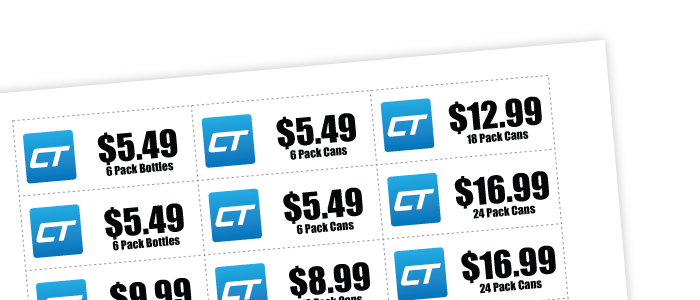
Use our affordable perforated tag media to print your shelf tags, and they’re ready to start selling your products.
Price change?
No problem. You can make changes to your saved tags at any time. Just update the price and print your new tags.
Need a custom design?
If it’s not already in our system, we’ll design for you. No extra charge.
Need help?
We provide live online training, at no extra cost, for individuals or groups. Phone support and email support are also available, and all support request are handled by a senior CoolerTags team member.
Sign up for CoolerTags Now